Categories
Help & Informational

How Can I Force a Test Alert?

You have your new sensor and you are super eager to test it out. The first thing you want to test out are the alerts. You want to see if it actually works. We get that. In todays blog we will discuss how to force a test alert.

One of our most asked questions is: Why do I not get an alert when I “test” it by making a sudden temperature change?

First let’s explain how the alert system works. 

The alert system detects changes in temperature. When the measured temperature moves from an “in bounds” temperature to an “out of bounds” temperature, without an intervening change in the min/max set-points, an alert will fire.

If you set the alert and the temperature is out of bounds when you start, an alert will not fire. This means if you set your alert points for the first time in your living room and the temperature is 62.2°F (See Figure 1.) and you set an alert set-point of 5°F, your app will tell you there is a hot alert (See Figure 2.), but will not send you an SMS alert.
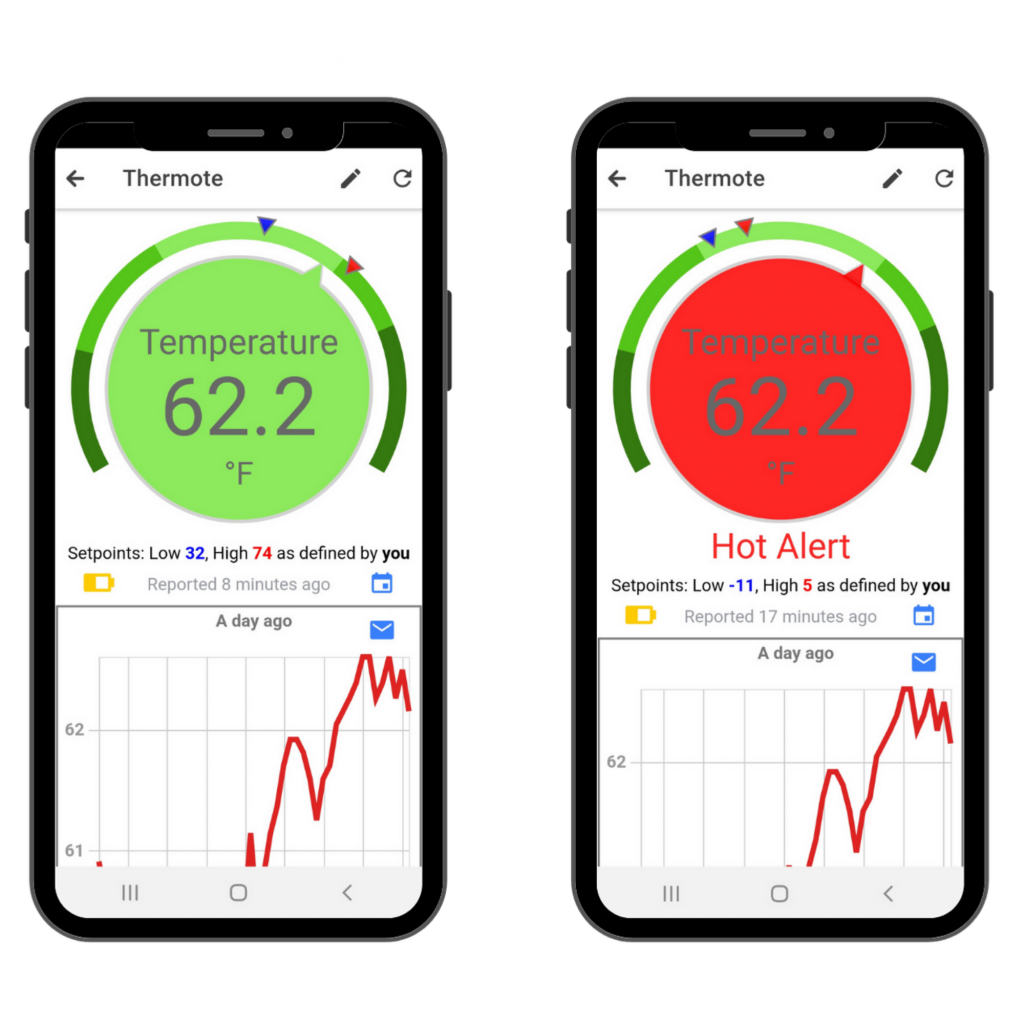
Setting your alerts

You would need to put the sensor in the intended environment it will be monitoring (for example, a freezer) and allow it to measure that temperature before it would send you an out of bounds alert. 

How to force a test alert?

  • Put your sensor in an environment where the temperature is reported in bounds (like your freezer). 
  • Make sure you have the correct people you want to notify in the alert list. This includes yourself if you want to receive a text message.
  • Allow the temperature to be reported at the new temperature. (See Figure 3)
  • Move the sensor to an environment where the temperature will be reported out of bounds (like your kitchen counter).
  • Do not change the set-points during that process. 
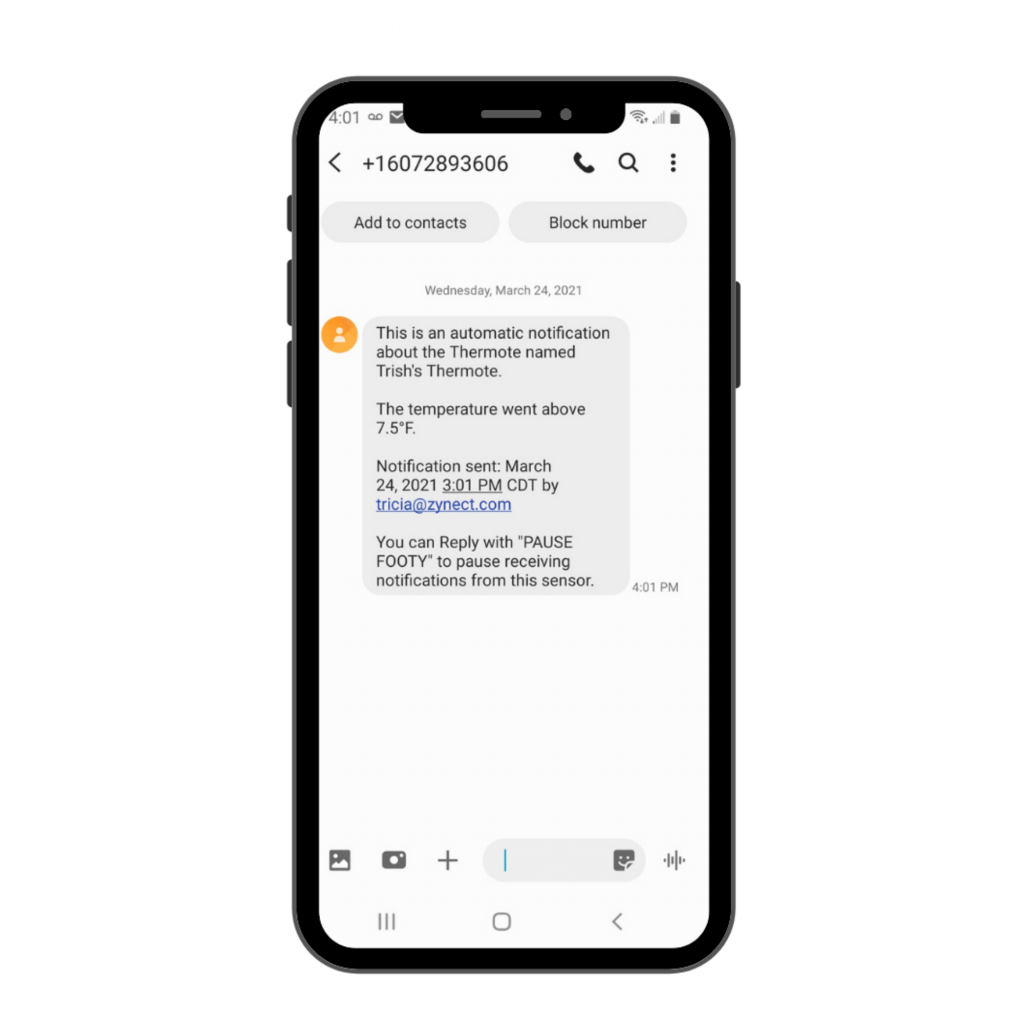
  • The temperature will report “out of bounds”. The app will show a “Hot Alert” and you will get an SMS alert. (See Figure 4 & 5). *Note that generally the most recent measured value is displayed in the gauged slightly earlier than it becomes available in the graphed data.
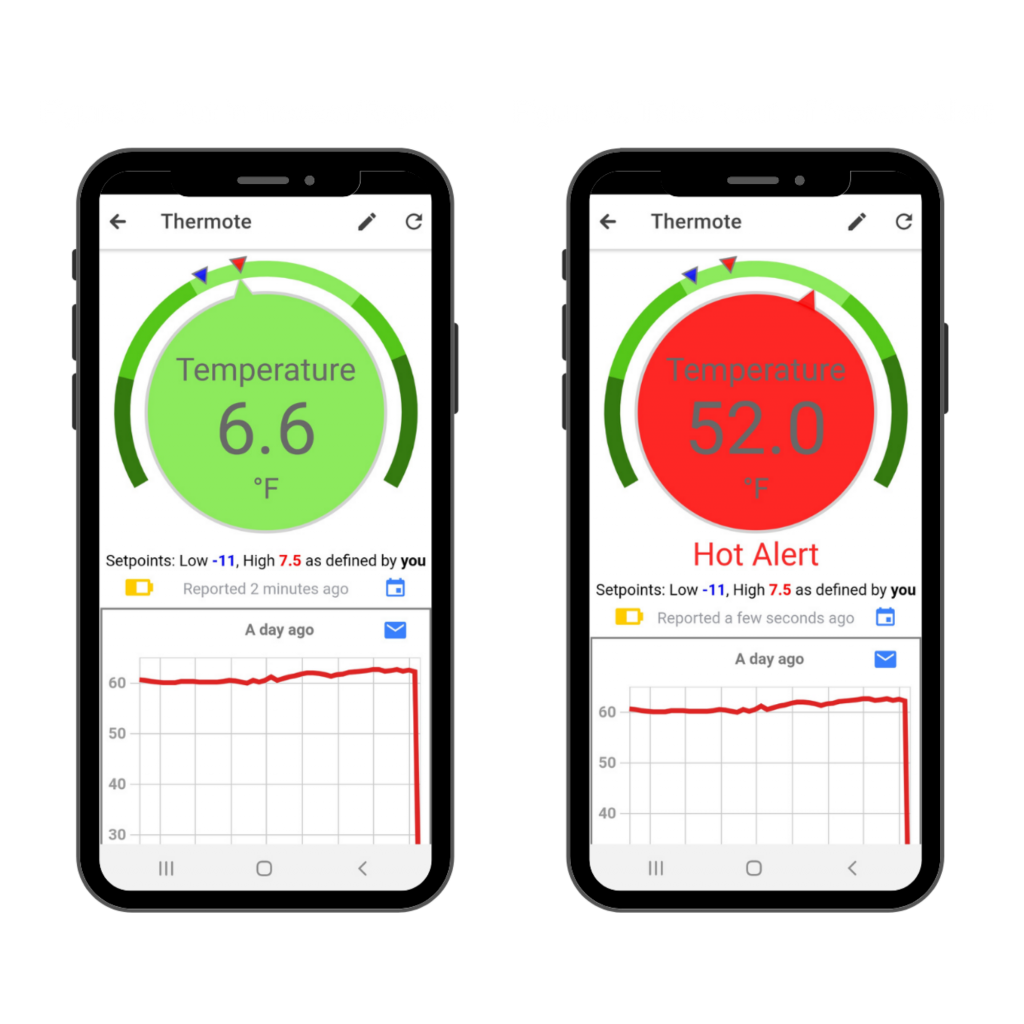
Reporting and sending an alert
A SMS alart text

Some things to keep in mind

We do not encourage trying to make instant alerts happen continuously. The system is optimized to behave intuitively under real alert conditions. 

The system will NOT send you the same alert condition twice in any 15 minute period. This means you can’t, for example, repeat the process described above to get an instant alert and get two SMS messages within a 15 minute window. 

If you have Opted Out of receiving SMS messages by replying to the SMS message -PAUSE (5-letter name of sensor), the system will NOT send you SMS messages about that sensor under ANY CIRCUMSTANCES, unless you Opt Back In – Reply to the SMS RESUME (5-letter name of sensor). (See Figure 5 for an example of this)

We hope you found this helpful. If you should have any questions regarding this process you can always reach out to support@zynect.com or visit www.zynect.com

Categories
LoRaWAN

What is LoRaWAN and how does it work?

All of the Zynect sensors run on a Wi-Fi connection for easy wireless connectivity. But what happens when you need long range and your sensor no longer picks up the Wi-Fi signal? This is where LoRaWAN comes in.

What is LoRaWAN you ask? Let’s break it down.

First of all, LoRaWAN stands for Long Range Wide Area Network. From this, you can probably guess what it does. It is designed to allow low-powered devices to communicate with Internet-connected applications over long range wireless connections. 

When you connect a LoRaWAN Gateway to your Wi-Fi, the signal can reach up to 2 miles, with an open landscape and no obstructions. And the best part?

It’s really easy to get it set up. Here’s how:

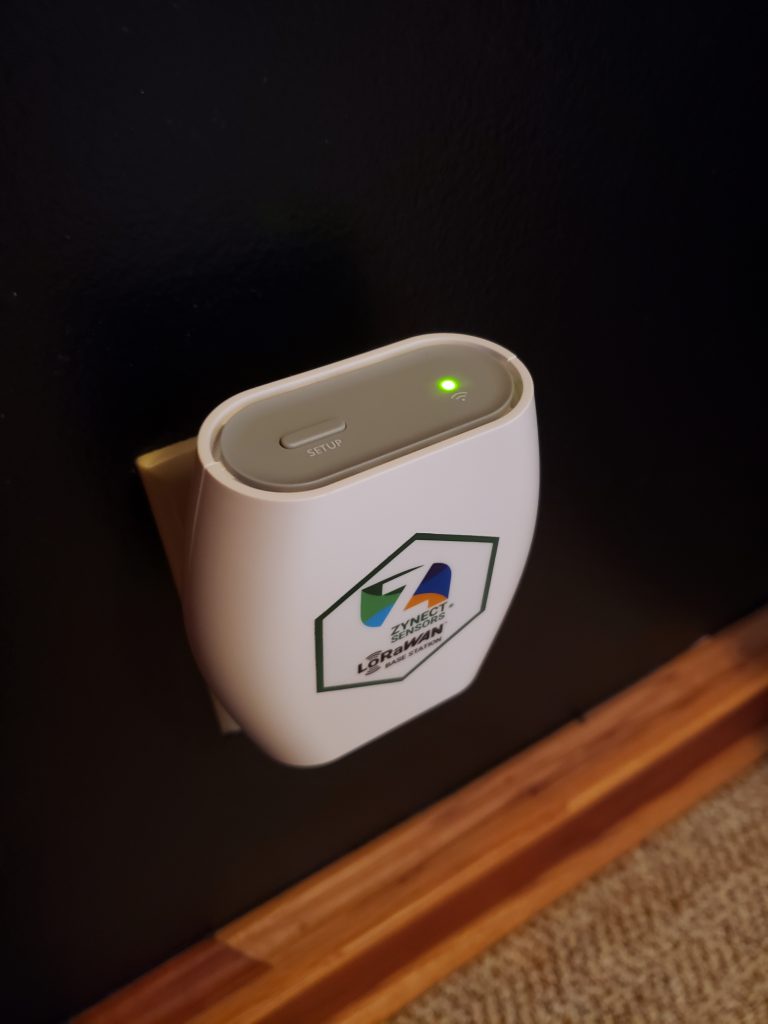
  • Remove your Zynect LoRaWAN gateway from the packaging and plug into the wall, preferably within 50ft of your Wi-Fi router
  • Put it into setup mode by holding down the setup button for 10 seconds. You should see the light start flashing orange and the Minihub network should appear in your Wi-Fi scans.
  • The password for the LoRaWAN gateway (Minihub) is printed on the back of the device under the heading Wi-Fi password. Connect your computer, phone, or tablet to the Minihub network using that password. 
  • Open a web browser (preferably Google Chrome) and type in 192.168.4.1 into the address bar. This brings you to the gateway setup page. 
  • Select your Wi-Fi network and enter your password. Leave the password field blank if you’re using an open network. 
  • Click the ‘Save and Reboot’ button. 
  • The gateway will blink GREEN for a few seconds while it connects to this network. Then it will blink GREEN<->RED for a few seconds while it connects to The Things Network. 
  • If your configuration was successful, the LED will be solid GREEN which means that the gateway is successfully connected to the LoRaWAN network. 

Check our our YouTube tutorial video that goes through the whole process.

So what would you use LoRaWAN for?

  • Do you have a farm? Want to monitor soil moisture or temperature remotely? 
  • Do you have multiple buildings within a compact area that you want to monitor the temperature for on the same network?
  • Do you have a barn or an out building that you want to monitor the temperature of but it is JUST out of reach of your Wi-Fi?

A LoRaWAN gateway can help you. 

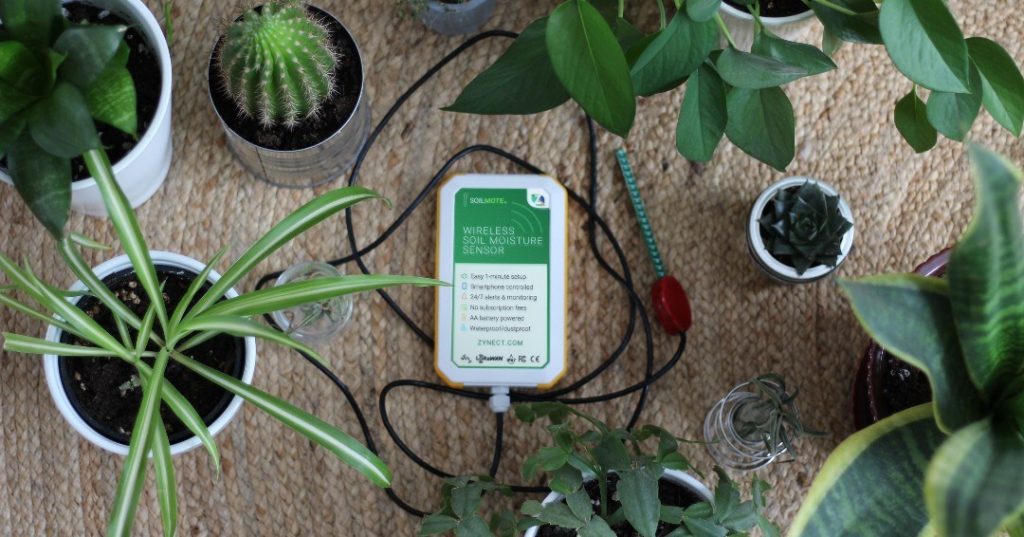
All of our wireless sensors, the Thermote, Soilmote, and Thermote X can easily connect to the LoRaWAN gateway. Therefore, you can easily switch it back and forth between LoRaWAN and Wi-Fi in the Zynect App.

Tips and Tricks

There are a few things we want you to keep in mind when using a LoRaWAN Gateway for the best experience. 

  • The gateway we offer is for indoor use only. Using it outdoors in extreme temperatures may impact your gateway signal and may cause damage to the gateway. 
  • The gateway is configured to The Things Network. If you were to purchase a gateway  outside of what Zynect offers to connect your Zynect sensors, we recommend seeking technical support from a local IT person to get you set up. 
  • In addition, placing the gateway and sensor as high up as you can will help the devices work together to give you longer distance coverage. 

That is LoraWAN in a nutshell. We have covered what it is, how to use it, and how to set it up. As always if you have any questions about our LoRaWAN gateway or any of our sensors, please reach out to support@zynect.com or visit our website: www.zynect.com

Let us know if you plan to use LoRaWAN in the future and what you will be using it for in the comments.

Categories
Soilmote

The Breakdown of Soil and it’s Moisture

Image Credit: Eco Life – Permaculture

Let’s talk about soil, soil moisture, and the Soilmote. Say that three times fast!

So, first question, what is soil made of? It is the mixture of minerals, dead and living organisms, water, and air. Pretty interesting right? Put all of those things together and they create soil. 

Soil is classified into 12 “soil orders” based on how it can be used. This takes a look at the soil’s physical, chemical, and biological properties. Each of the 12 soil orders end in “sol” which is derived from the latin word “solum”, meaning soil or ground. 

Did you know that each state and territory in the United States has a representative soil? The state soil of New York, where we make the Soilmote, is Honeoye Soil. Want to know what your state soil is? Check out Soil Science Society of America

Now let’s talk about soil moisture. 

According to the Earth Science Office at NASA, soil moisture is a key variable in controlling the exchange of water and heat energy between the land surface and the atmosphere through evaporation and plant transpiration.

Generally, however, soil moisture is the water that is held in the spaces between soil particles.

The data from tracking soil moisture can be used for many things. For instance, reservoir management, early warning of droughts, irrigation scheduling, crop yield forecasting, and keeping your house plant alive. Cornell University’s dept of Earth and Atmospheric Sciences are currently using the Soilmote to measure seasonal changes to soil moisture.

It’s pretty important. 

So how do you measure soil moisture?  One way to look at this is recognizing soil as many different sized particles which don’t fit together neatly. This leaves empty spaces between the particles. Once you pour water onto the soil it fills those spaces. 

This is where the Soilmote comes in. 

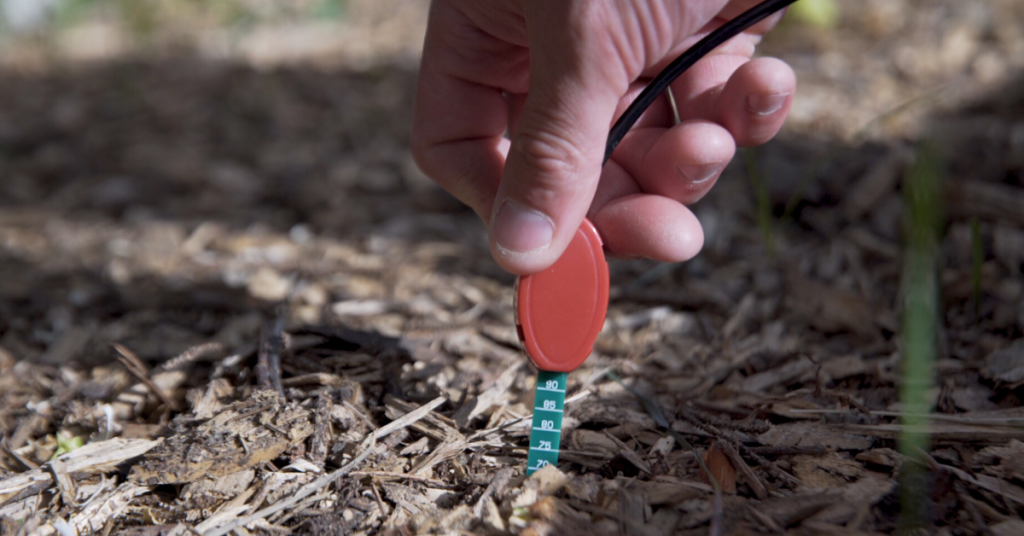
When you stick the probe into the soil it uses capacitance to measure the soil moisture. Unlike conductivity or resistance based sensors which are biased by salts and fertilizers found in soil, it provides a fast accurate reading. (Those other sensors are also well known for “drift”. They work great for a few weeks, then become useless).

The Soilmote compares the empty spaces to the full spaces. It takes this comparison and calculates the volumetric water content. That is the reading you receive from your Soilmote on your Zynect app. It is also why it is important to completely push the green probe into the soil you are measuring

In conclusion, you can ask the app to alert you if there is too much water or not enough with setpoints. It’s pretty simple and this is one the most accurate ways to monitor soil moisture. 

Check out our YouTube informational video discussing the Soilmote and how it works!

There you have it. Soil moisture is pretty important. We have a way to monitor it. Get your Soilmote today!